From walking to sleeping, lower back pain can affect every aspect of your life. There can be several reasons for lower back pain, whether it is due to poor posture or a hard training session at the gym, or a sedentary lifestyle. There is a good chance that you want to lie in bed all the time if you are dealing with lower back pain. However, practicing lower back stretches three to four times a week can help in preventing lower back pain.
10 Best Exercise for Lower Back Pain
If you are dealing with mild backache stretching can provide you a great relief. Practice these ten exercise for lower back pain and strengthen your lower back.
1. Child pose
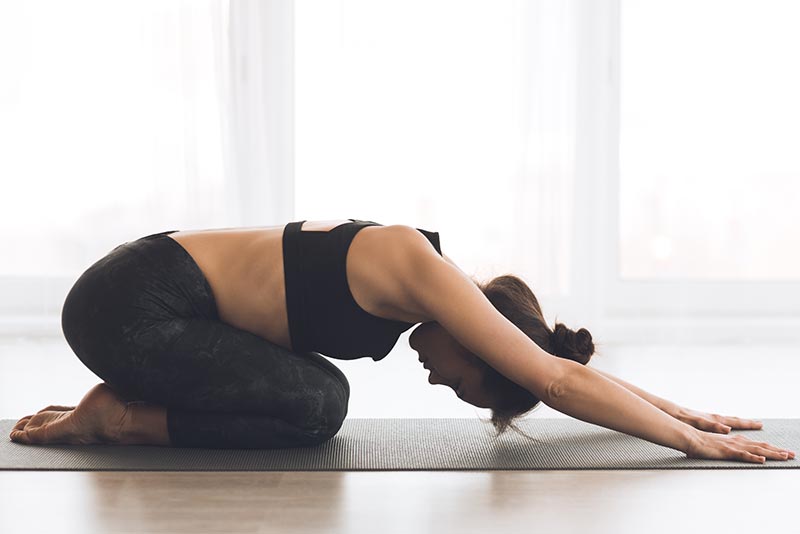
How to do it:
- Sit down on your knees and put your hips over your heels.
- Raise your arms over your head and as you exhale, bend forward until your chest rests over your thighs and forehead touches the mat.
- Keep your arms stretched in front of you with your palm facing downward and feel your breath. Stay in the pose for at least 30 seconds and then gently unwind.
Benefits:
When it comes to yoga for lower back pain child pose is one of the best poses. It gently stretches your thighs, glutes, and spinal extensor. And it helps in relieving all the tension built in the lower back neck and shoulder. It also helps in relieving upper back pain.
Precaution: Avoid this pose if you have knee injuries or severe hip issues. Use a cushion under your knees for extra support.
2. Cat cow stretch
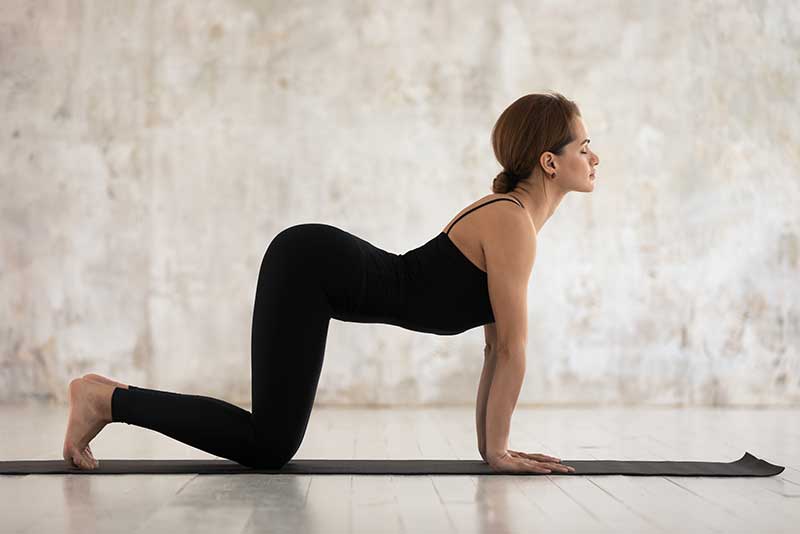
How to do it:
- Come down in a tabletop position and keep your knees underneath your hips and your wrist beneath your shoulder.
- As you inhale arch your back down, look forward as your belly is filled with air (cow pose).
- As you exhale tuck your chin to your chest and arch your back up towards the ceiling and lower your gaze towards the belly (cat pose).
- Continue this to and fro movement of the spine combined with your breath for at least 10 to 12 breaths and then release.
Benefits:
Cat and cow stretch is the best way to wake up your spine while stretching your shoulder, neck, and chest muscles at the same time. So make sure to do this stretch as this is a great exercise to strengthen the lower back muscles.
Precaution: Move slowly to avoid straining your back. If you have wrist pain, use fists instead of palms to support your weight.
3. Knee to chest stretch
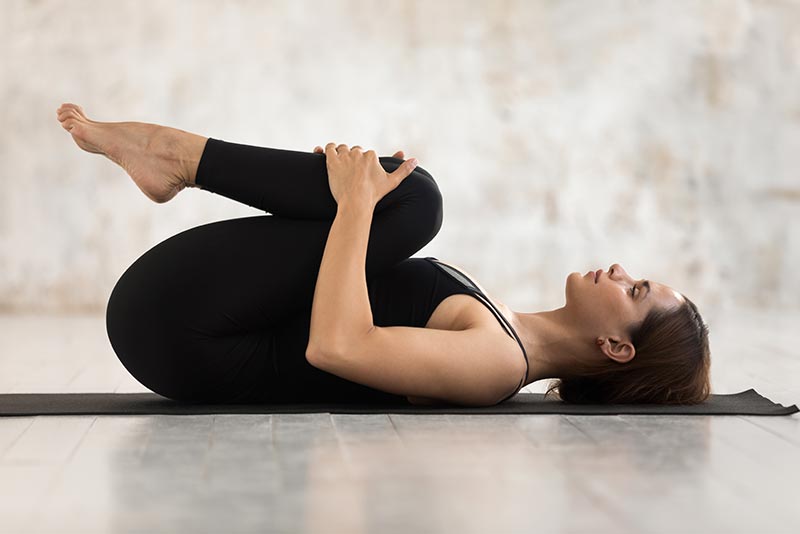
How to do it:
- Lie down on your back with your knees bend and feet flat on the mat.
- Now bring your right knees towards the chest. You can keep your left leg bent or straight on the mat.
- Hold your right leg near your chest for at least five to ten seconds. Keep your abdominal muscles tight and press your spine against the mat. Keep breathing to release any tension.
- Gently release the right leg and repeat the same with the left leg. Repeat this process at least two to three times a day with each leg.
Knee to chest stretch relives all the tension from hips, thighs, and glutes muscles.
Precaution: Keep movements gentle. If you have hip problems, keep one leg bent to avoid excessive pressure.
4. Sphinx stretch
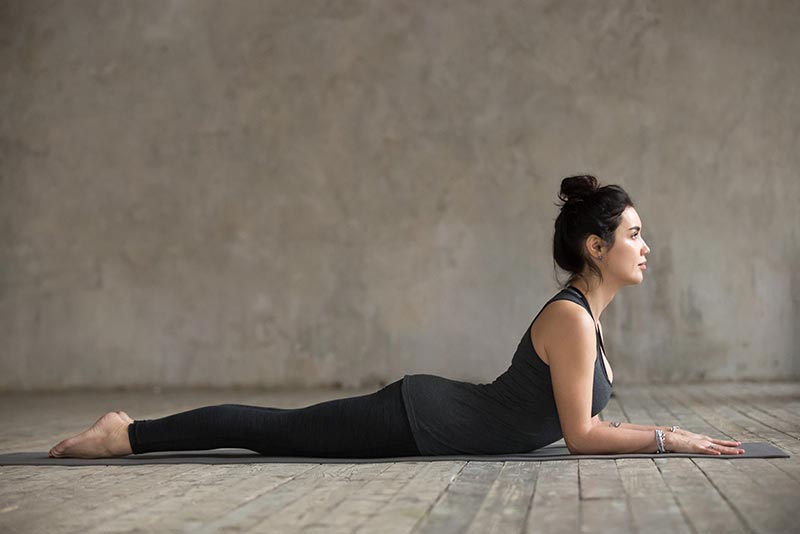
How to do it:
- Lie down on your belly, keeping your hands resting on either side. Now bring your elbows beneath your shoulder and your palm facing downward.
- As you inhale lift your chest and head off the mat keeping your pelvis glued to the mat.
- Keep your gaze forward and if you are comfortable, straighten your arms for a deeper stretch.
- Keep breathing and hold the pose for at least 30 seconds and then gently unwind.
Benefits:
Sphinx stretch is a great exercise that stretches and strengthens your hips, spine, and chest muscles at the same time.
Precaution: Avoid if you have lower back injuries. Engage your core to support your lower back.
5. Pelvic tilt
How to do it:
- Lie down on your back, keeping your knees bent, feet flat, and arms resting on either side.
- Now arch your lower back and push your stomach out. Stay in this position for five seconds and then release.
- Now pull your belly button inwards as you flatten your back. Stay in the position for five seconds and release.
Benefits:
Pelvic tilt builds strength in your abdominal muscles and relieves any tightness in your lower back.
Precaution: Perform slowly and avoid jerky movements to prevent strain. Keep your back flat on the mat.
6. Bridge pose
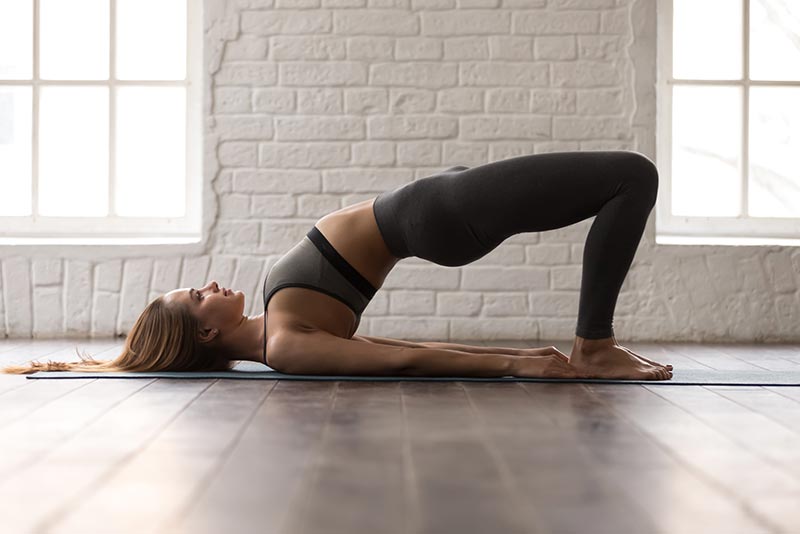
How to do it:
- Lie down on your back with your knees bent, feet flat, and arms resting on either side.
- Bring your feet closer towards your hips and press them firmly on the mat as you lift your hips, and lower back off the mat.
- You can interlock your fingers underneath your back for a deeper backbend. Hold the position for 30 seconds and gently unwind.
Benefits:
The bridge pose relieves the tension around the lower back muscles as well as strengthens the lower part of the glutes which support your lower back. It is the best weight loss yoga exercise with a lower back pain reliever.
Precaution: Avoid if you have neck or shoulder issues. Do not overextend your back; lift only as far as comfortable.
7. Piriformis stretch
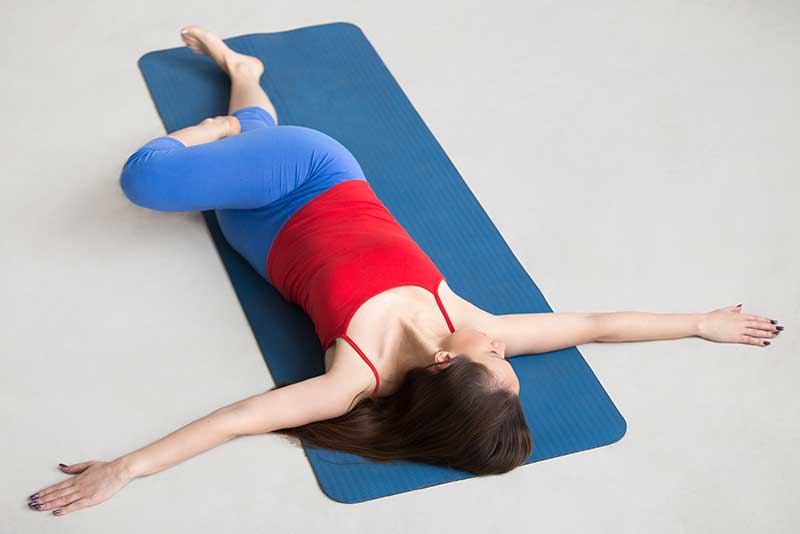
How to do it:
- Lie down on your back, keeping your knees bent and feet flat on the mat.
- Put your right ankle on the base of your left thigh. Now grab your left thigh and bring it closer to the chest till you feel the stretch.
- Stay in the pose until you are comfortable and then switch to another leg.
Benefits:
Piriformis stretch work on your piriformis muscles which are deeply embedded in your butt. This stretch reduces the tightness in your hips and relieves pain in your lower back.
Precaution: Move gently into the stretch to avoid pulling muscles. Stop if you feel any sharp pain.
8. Lower back rotational stretches
How to do it:
- Lie on your back, keeping your knees bent and feet flat on the mat.
- Open your arms on the sides and make a ‘T’ shape. Now, keeping your abdominal muscles engaged, bring your both knees towards your chest and then gently roll your knees to one side and head on another side.
- Keep your shoulder firmly on the mat and return back to your starting position. Now repeat it to the other side.
Benefits:
This stretch relieves all the tension from the lower back and also works on your core to improve flexibility.
Precaution: Keep your movements controlled. Avoid if you have severe spinal issues.
9. Seated lower back rotational stretch
How to do it:
- Sit on a chair or stool, keeping your back straight and feet firmly on the ground.
- Bring your hand behind your head and twist at your core towards the right and hold it there for 10 seconds.
- Return back to starting position and twist to another side.
Benefits:
This lower back rotational stretch reduces back pain and strengthens the lower muscles while working on core muscles at the same time.
Precaution: Sit on a stable surface to avoid falls. Do not force the twist; move within your comfort range.
10. Superman stretch
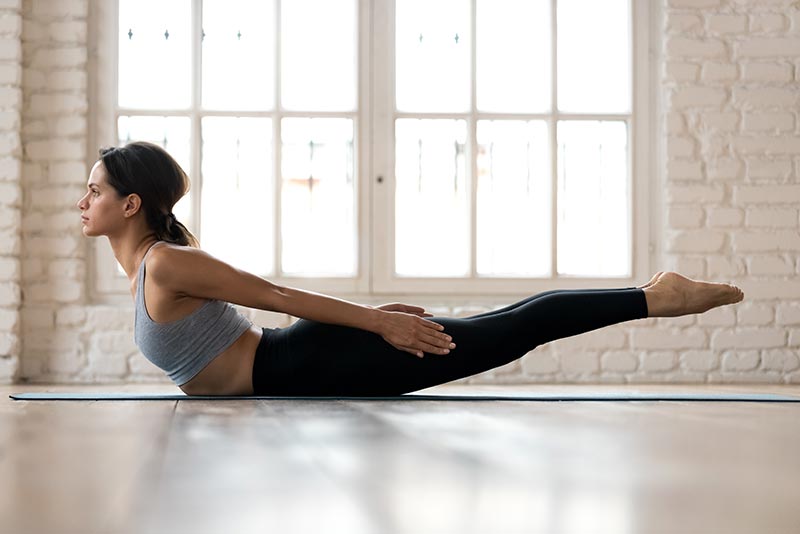
How to do it:
- Lie down on your belly with both arms stretched in front and legs extended in the back.
- Keeping your core muscles engaged, lift your arms, and legs off the floor.
- Try to keep your head straight and keep your gaze towards the floor to avoid any neck injury.
- Try to stretch according to your comfort and then release.
Benefits:
Superman Stretch strengthens your back extensor muscles which run along either side of the spine, which helps in maintaining good posture and reducing pain.
Precaution: Engage your core to protect your lower back. Avoid lifting too high to prevent straining the spine.
When it comes to good and bad exercise for the low back, try to avoid sit-ups and standing toe touch as these can aggravate your condition. Try to practice these gentle stretches to reduce the pain. However, if your pain worsens, then it is best to consult with a doctor.

Mr. Sunil Navale is a distinguished figure in the world of fitness, fueled by an unwavering passion for well-being. He is trained at the FISAF Singapore, a globally renowned organisation in the fitness industry Read More


